Oct 26, 2026
Content
Putting line on a reel is a controlled transfer, not a race to the flange. Tension, traverse, and reel condition decide whether the winding stays compact in storage, pays out without snatching, and returns without crushed insulation. The same sequence works on a compact spool, an extension cord reel, or a full cable drum.
Most winding failures start with three conditions: low tension, random traverse, and a reel that is not round or clean.
Low tension lets wraps migrate during transport. Random traverse leaves gaps that upper layers sink into. A reel with a bent flange or a swollen barrel forces the line to follow a wobble. None of these faults shows up as a cable defect at first, which is why they are often missed until payout.
Match line diameter, stiffness, and total length to the reel's barrel diameter, flange height, and load rating before the first wrap goes on.
A stiff cable on a small barrel keeps its coil memory and pushes outward against the flanges. A soft cable on an oversized barrel can sag and lose layer support. Overfilling is just as damaging: the outer layer sits above the flange and takes every impact in the warehouse.
| Material | Good fit | Winding behavior | Check before use |
| Plywood | Export drums and medium-to-heavy cable | Stable barrel with consistent thickness | Edge crush and delamination |
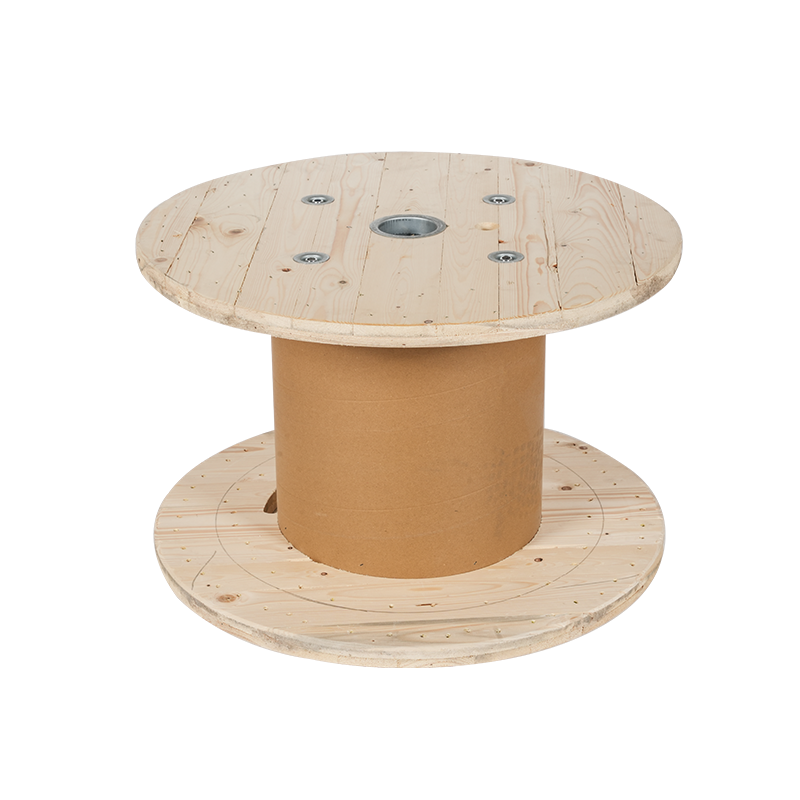
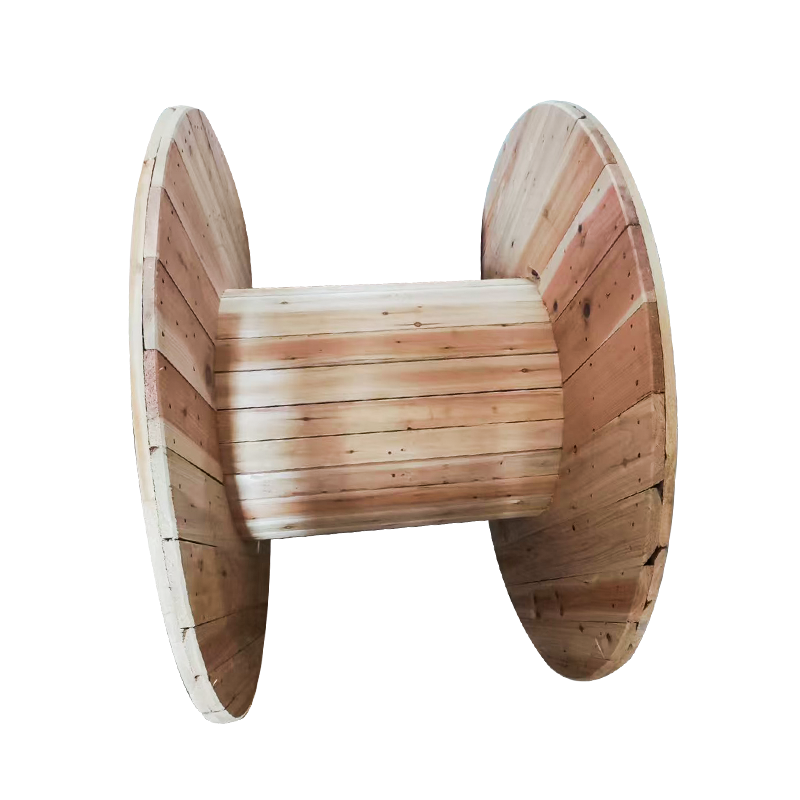
| Fumigated solid wood | Heavy cable and long export routes | High load capacity and repairable | Treatment records and moisture |
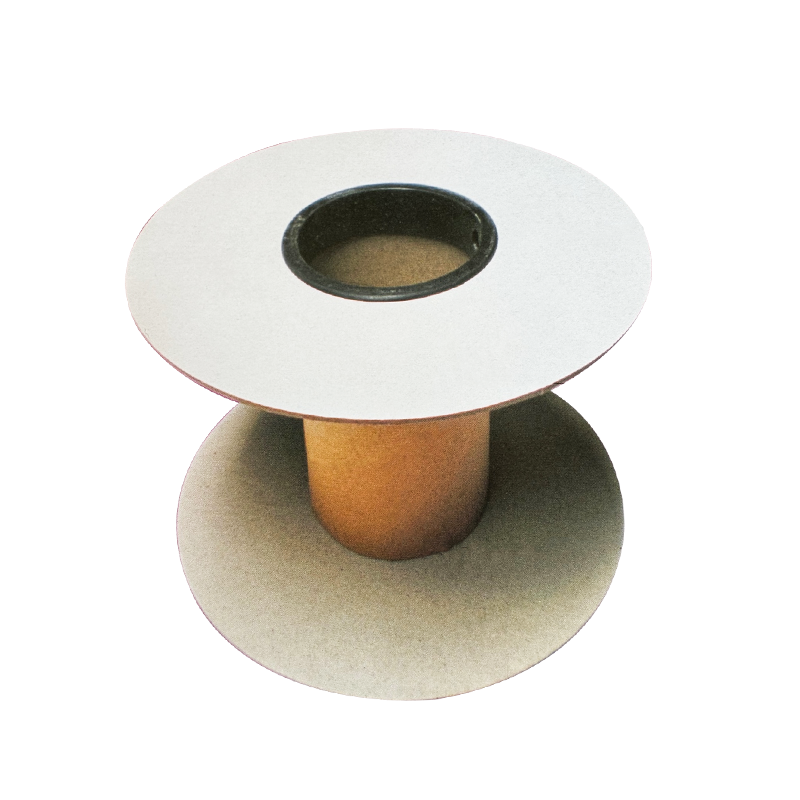
| Paper | Lightweight cable and short runs | Low weight and easy handling | Crush risk when overfilled |
| Plastic | Damp sites and repeated use | Moisture resistant with a smooth barrel | Heat, UV exposure, and stiffness |
For a fuller selection framework, see this guide to choosing the right cable drum for your project.
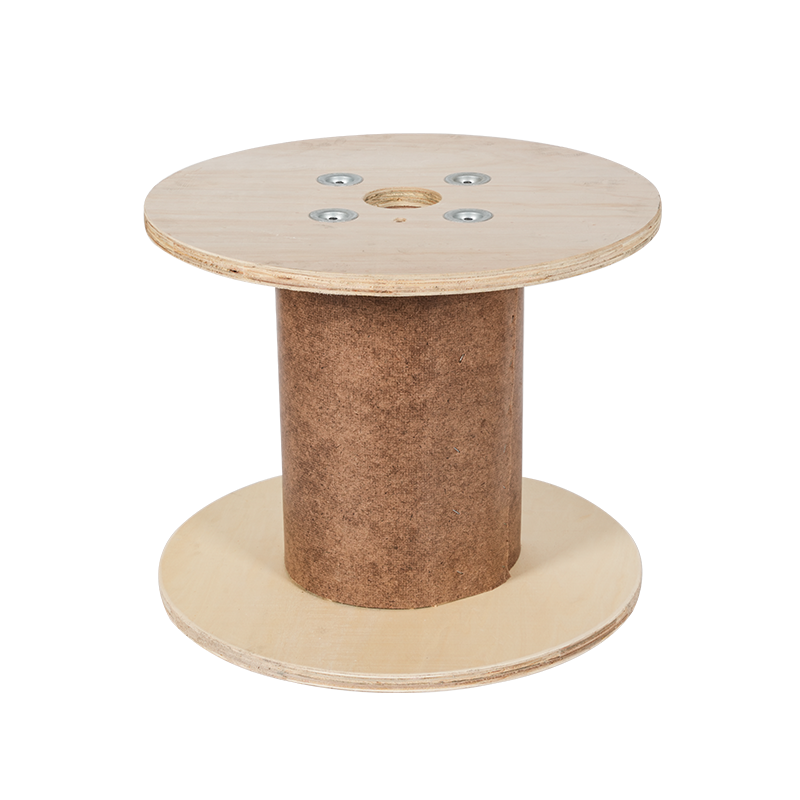
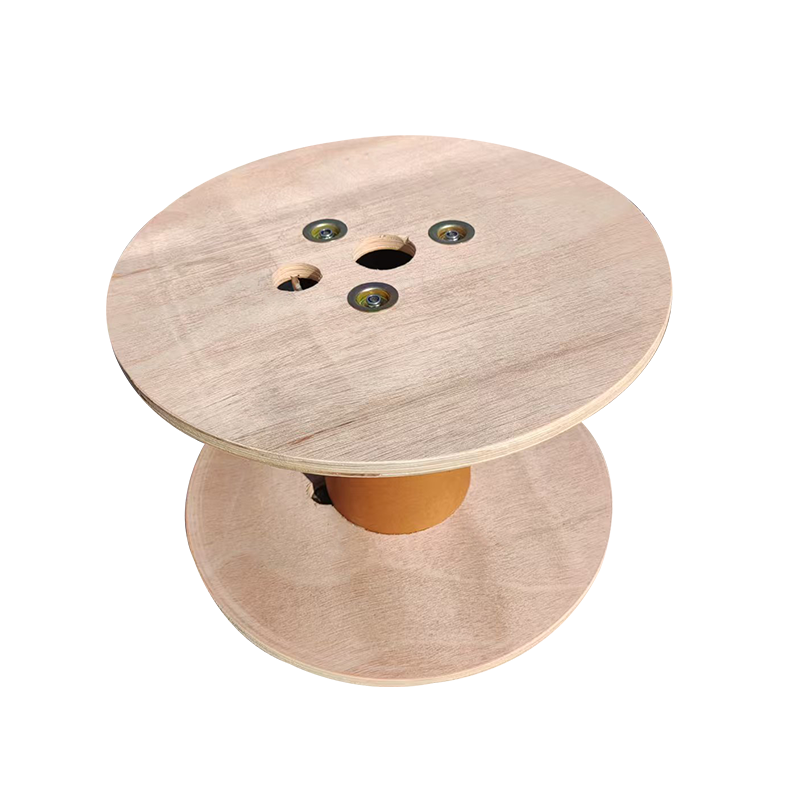
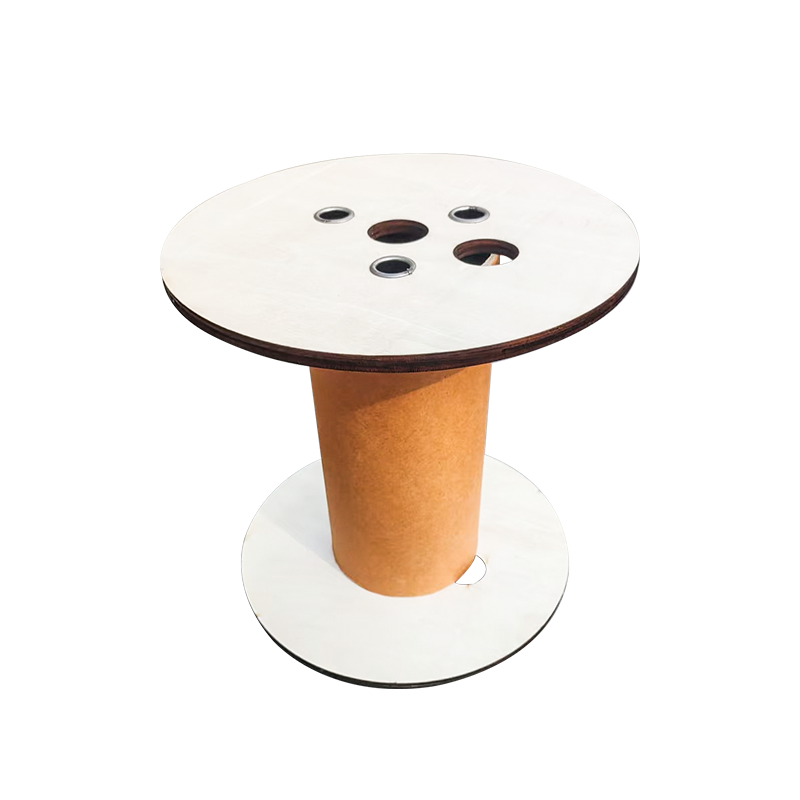 Plywood Cable Reels for Cable Transport and StorageExplore lightweight plywood cable reels with wood elasticity and toughness, available in large and small variants for cable, fiber, hose, and rope handling.View Product →
Put line on a reel in six controlled steps: inspect, anchor, tension, guide the first layer, build the layers, and secure the tail.
Keep the reel level and free to rotate. Use a brake or tensioner on the supply coil, not your hand, so the load stays steady. Guide the line with a traverse arm or a gloved hand that follows the wrap angle; do not pull sideways against the flange.
A loose wrap, a birdnest, a soft edge, and a bulge at the flange each point to a specific winding error.
| Defect | What it looks like | Likely cause | Correction |
| Loose wrap | Line moves by hand and layers shift | Low or inconsistent tension | Increase tension and use a brake or tensioner |
| Birdnest | Line loops back over itself | Tail not secured or tension lost during tie-off | Anchor the tail to the flange before releasing tension |
| Soft edge | Outer layer slopes toward one flange | Traverse guide stops short or overshoots | Set guide limits and keep the layer flat |
| Flange bulge | Stack rises against one flange | Line piled in one area or reel misaligned | Centre the reel and guide evenly across the barrel |
| Crushed cable | Flat spots or insulation damage | Overfilled reel or excessive tension | Match length to capacity and respect bend radius |
A good winding can still fail if the reel is out of round, wet, or handled by the flange.
Wood reels absorb moisture and can swell or lose strength. Plastic drums resist water but can soften in heat. Paper reels are the least forgiving if they are overfilled or stored on a damp floor. Before payout, check the barrel, flanges, and the first few wraps.
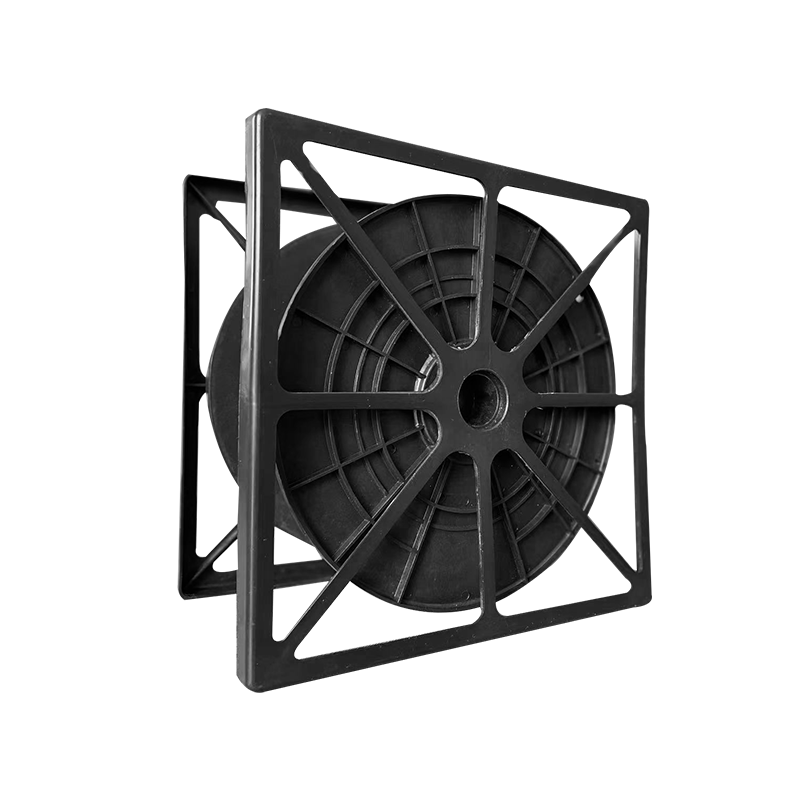 Moisture-Proof Plastic Cable Reel for Wire StorageA lightweight, corrosion-resistant engineering plastic reel for wire and cable storage, turnover, and transport, suited to buyers comparing moisture resistance before winding or payout.View Product →
These are the questions buyers ask most often when they are preparing a reel for winding or payout.
Use the highest tension that stays below the cable maker's maximum pulling tension and still lets the line lay flat. The practical target is enough load to keep wraps in contact without flattening or embedding the cable. If a wrap moves by hand, it is too loose.
Wind dry unless the cable specification says otherwise. Moisture trapped between layers can corrode armour, degrade paper insulation, or feed mould in wood reels. If the cable is wet from site conditions, dry the surface and let the reel stabilise before storage.
Yes, if the reel passes a condition check. Look for a clean barrel, true flanges, no protruding nails, no delamination, and no soft spots from moisture. A damaged flange will not hold layer alignment, even with new line.
Leave a clear gap below the flange edge. The exact gap depends on line diameter and reel size, but the winding must never sit proud of the flange. Overfilling exposes the outer layer to impact and makes payout tension harder to control.
Related Products

Contact us
Address
No. 19, Hualong Industrial Park, Linglong Street, Lin'an District, Hangzhou City, Zhejiang Province, China
Phone
+86-13357115977
QR CODE
 Cable Reel Manufacturers, Cable Packaging Reel Factory

 English
 中文简体